Accessing The Virtual PC
- Please note that DUO authentication is required to login
- Bugs have been identified when accessing Nutanix Frame via Google Chrome.
For example, you will not be able to upload Microsoft Project/Access files.
While we work on fixing them, please use any of the following browsers for the best experience: Safari – Firefox – Edge
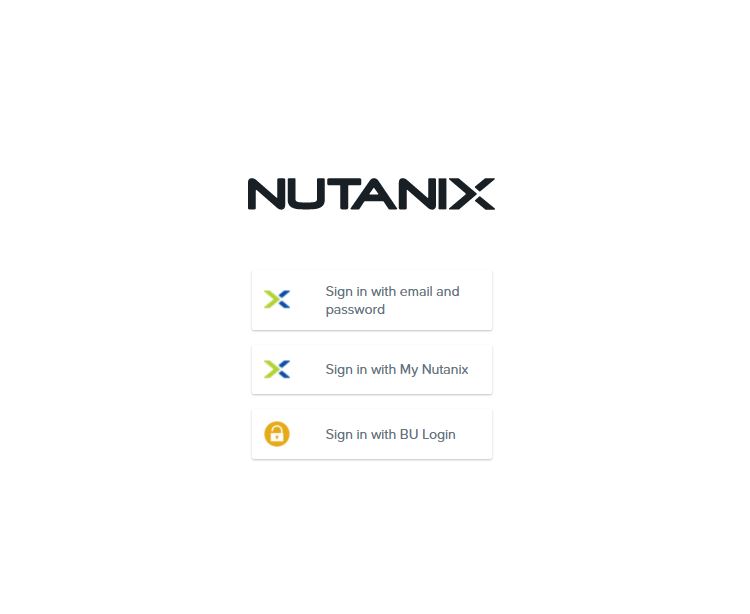
- Go to the Frame page, click on “Sign in with BU login” and sign in using your BU Email and password
- Click on the application you want to use
- A new login page appears: sign in using your BU username (without @bu.edu)
- Enter your Kerberos password
- The application will start after you have signed in
- For Data Science/Excel instructions, click here
1
1
1. BU Email and Kerberos Password
1

1
2. Click on the app you want to use (Frame Explorer in this case)
1
2
3

1
3. BU Email
(without @bu.edu)
2
4. Kerberos Password
3
5. Sign In
Switching Applications
- Click on the application icon
- Choose a new application from the menu that appears
1
2

1
1. Click on the applications icon
2
2. Choose any of the apps (Excel in this case)
Upload files from your Computer to Frame
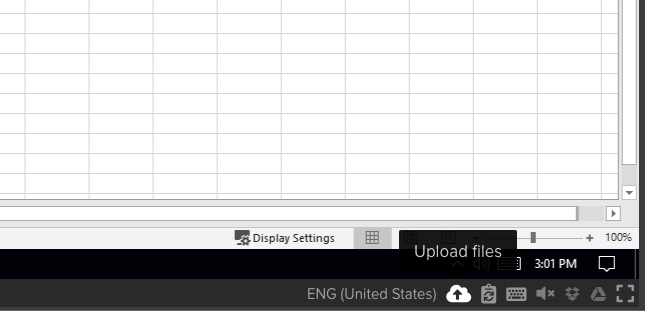
- Click on the upload icon in the bottom right (see image)
- Select the file you wish to upload from your local computer
- The uploaded file will appear in the Uploads folder
– Please note that uploaded files will be deleted from the virtual machine when your session ends
– You can preserve progress by moving them to the Documents folder on the virtual machine
** The Uploads Folder will wipe all files once you finish your session **
Please note that uploaded files will be deleted from the virtual machine when your session ends.
You can preserve progress by saving to the Documents folder on the virtual machine.
1
1
1. Click on the upload icon
1

1
2. Select the file you want to upload
1
1
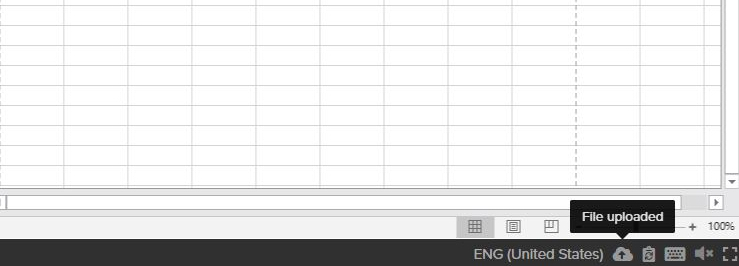
3. File is successfully uploaded to your Uploads folder
Save files within Frame
- In the virtual application, click on File -> Save As
- Click on “Browse” to access all folders
- Select the file you want to save
- Navigate to the “Documents” folder
– Saving a file in the “Documents” folder will preserve it for you to access the next time you login
– All files in other folders will be deleted on session end - Save file
1
2

1
1. Click “Save As” from your application of choice
2
2. Click “Browse” to access the folders
1
2
3

1
3. Click on the “Documents” folder
2
4. Type the name of the file
3
5. Click save
Download files to your Computer
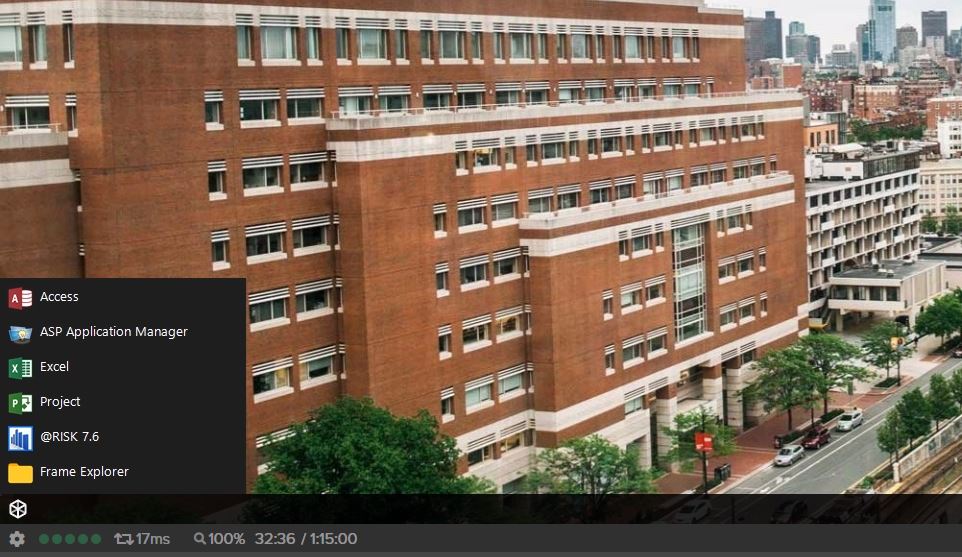
- Click on the application icon in the bottom left (see image)
- Select “Frame Explorer”
- Find the file you want to download
- Drag your file to the “Download Now” folder
- The file automatically downloads to your machine as soon as you drop it
1
2
1
1. Application icon
2
2. Open “Frame Explorer”

Open uploaded files
- In the virtual application you are using (e.g. excel, access), click open
- Select “Browse”
- Click on the “Uploaded files” directory
- Select the file you uploaded
- Click “Open”
** The Uploads Folder will wipe all files once you finish your session **
Please note that uploaded files will be deleted from the virtual machine when your session ends.
You can preserve progress by saving to the Documents folder on the virtual machine.
1
2

1
1. Click open from your application of choice
2
2. Click “Browse” to access the folders
1
2
3

1
3. Click on “Uploads“
2
4. Select the file you uploaded
3
5. Click open
Add Data Science to Excel
- You must close Excel if it is open
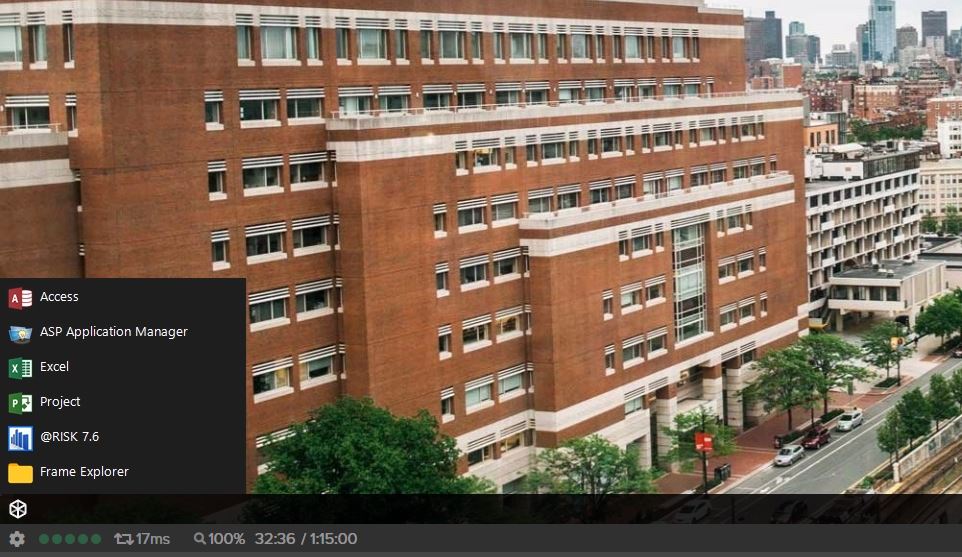
- Click on the application icon in the bottom left
- Click on “ASP Application Manager”
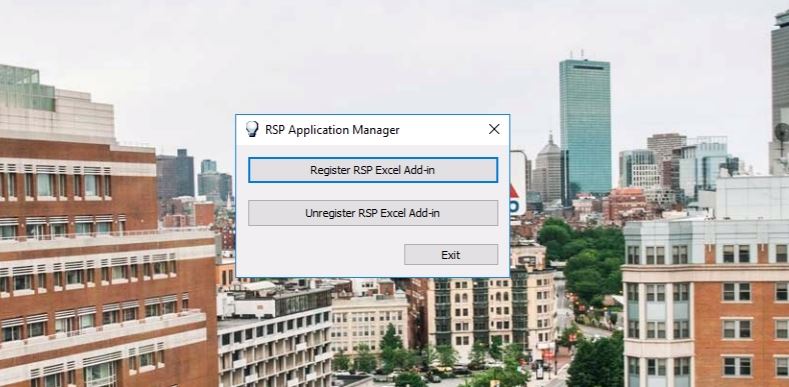
- Click the “Register RSP Excel Add-In” button
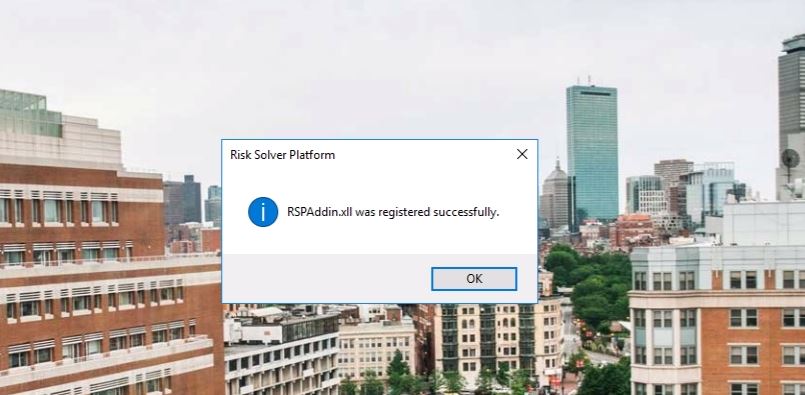
- A success message will appear. Click OK
- Click Exit
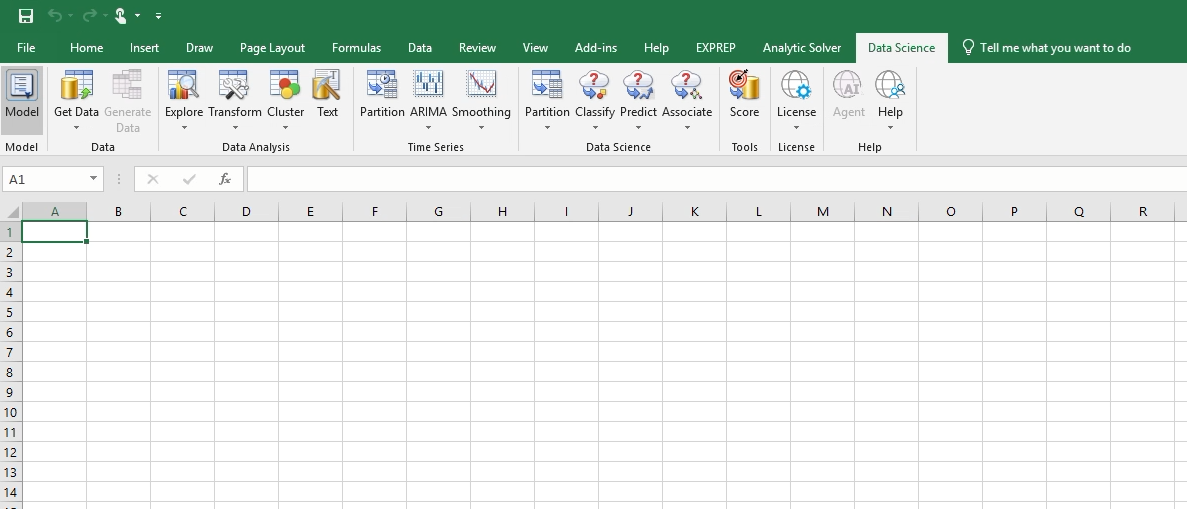
- Click on the application icon in the bottom left and select Excel. Data Science will now show up as a tab within Excel.
– You will need to do these steps again when you start a new session
1
2
1
2. Click on the application icon
2
3. Click on “ASP Application Manager“
1
1
4. Register RSP Excel Add-In
1
1
5. Success message
1

1
6. Click exit
1
1
Analytic Solver and Data Science Tabs are now available
EX Prep Add-In
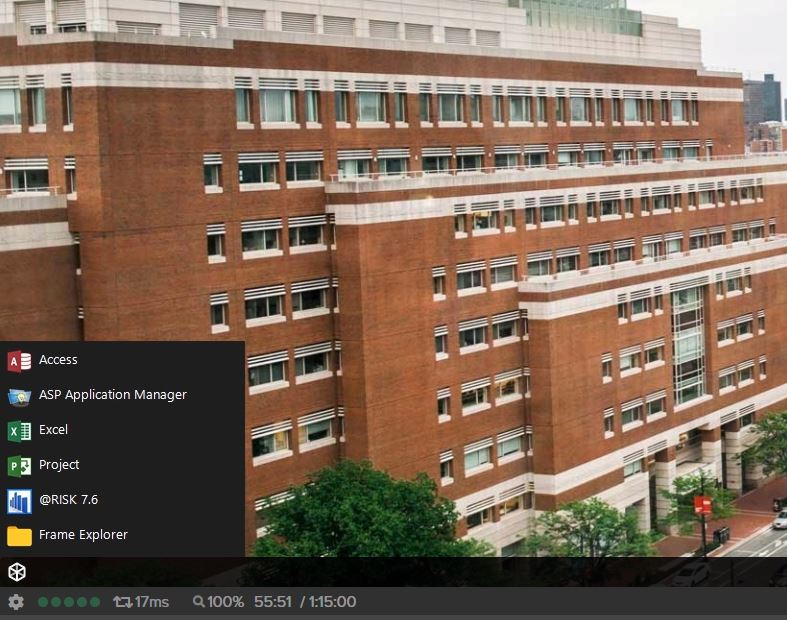
- Click on the application icon in the bottom left
- Select Excel
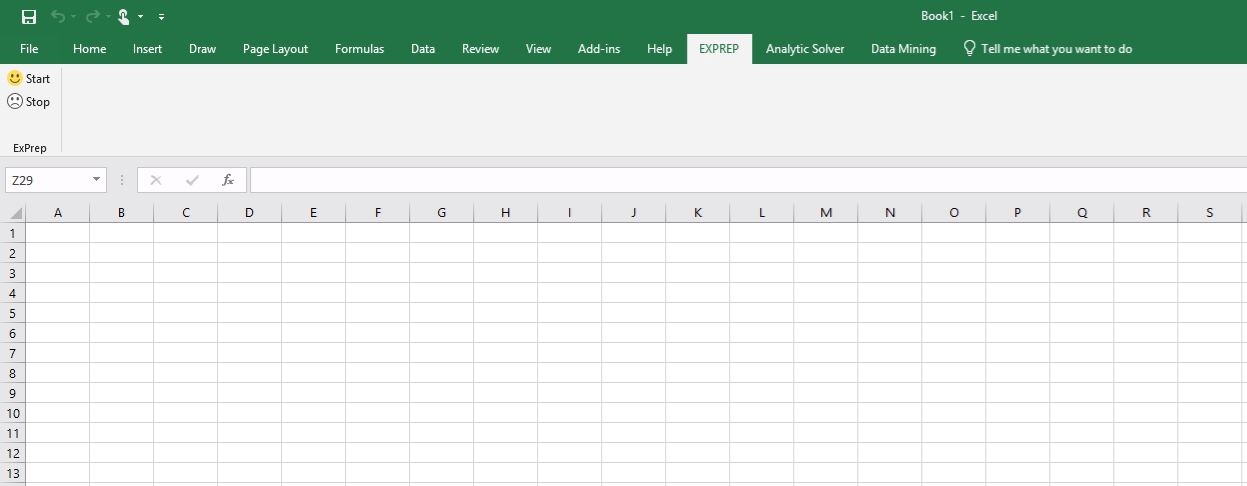
- EX Prep is already installed in Excel, it will show up as a tab in the top menu. Click on it
- Click on “Start” to use it
1
2
1
1. Click on the application icon
2
2. Click on Excel
1
2
1
3. EX Prep tab within Excel
2
4. Click “Start” to use it
Closing Your Frame Session
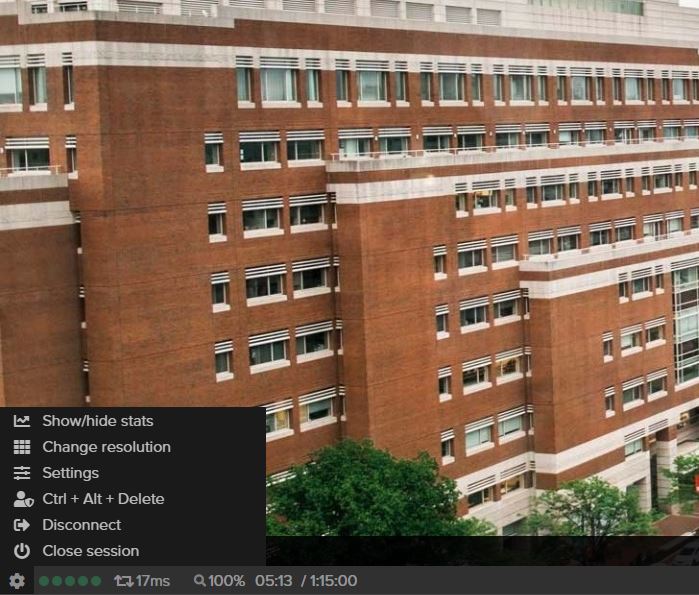
- Click the gear icon in the bottom left
- Click on “Close Session“
- Make sure you save your work and confirm “Close Session“
1
2
1
1. Click on the application icon
1

1
